KV1; 1/48; Hobby Boss

KV1

At the same time I built the previous 251 I also built this KV1 Russian Tank also with worn down winter camouflage.

This Hobby Boss kit is not a hard build and looks quite nice, though the tracks are somewhat hard to work with, though that may be because I simply hate working with tracks in general; It was quite the challenge to paint them separately and put them in place at the end. I definitely don’t recommend this approach.

Like the 251 this one also had no after market added to it, though I do think the engine grills would profit from a nice PE set to replace the stock ones.

All in all it’s a fun kit that lends itself very well to all kinds of weathering.

20150614__12 KV1 KV1 KV1 KV1 KV1 KV1 KV1 KV1  KV1 KV1

hanomag sdkfz. 251; 1/48; AFV Club

20150614_251_8

After almost a year since my last post here comes my latest work. It has been almost finished for quite a while but unfortunately life has been getting on the way of modelling.

This kit was made in a workshop at Greenmodels with supervision from Filipe Ferreira.

The kit itself is really great fun, very detailed, but as most non Japanese companies the plastic is far too soft for my taste and the many small and fragile pieces get damaged very very easily, so care needs to be taken when building it.

As the kit already has good detail, no aftermarket was added; Even the tracks are quite passable.

The colour scheme was the regular panzer grey to keep it simple, but to add some fancyness and interest I added worn down, winter camouflage. On top of that some dirt and grime for extra flavour.

Thanks for reading.

20150614_251_10 20150614_251_9  20150614_251_11 20150614_251_7 20150614_251_6 20150614_251_5 20150614_251_4 20150614_251_3 20150614_251_1 20150614_251_2

P-38 Lightning 1/48 Eduard ltd. ed.

P38

It’s been quite a while but my modelling is not stopped, unfortunately the time to publish wip posts is severely lacking, but I have a bunch of models finished or close to so new posts should be popping up.

The first one to be completed is the Eduard limited edition of the P-38 Lightning. The kit has the academy plastic with some Eduard upgrades, namely the resin wheels, superchargers and cockpit, a pair of photoetch frets, painting masks and cartograph waterslides for 5 different aricraft.

Usually Eduard does a great job and the detail is certenly there but the cockpit was quite difficult to put together. The side walls and the floor seem to be in a different scale with the walls being bigger than they should by a rather large margin. This made the assembly quite difficult and putting it in place inside the gondola a nightmare. With some effort I did manage, and you can’t really see much of the cockpit anyway so. I would probably skip it if I made another one and just use the plastic cockpit.

The rest of the kit was also somewhat complicated. This is not a kit for the inexperienced. It can build into a good looking model, but it requires a ton of work to fix all the alignment issues, and gaps. If you pick this up expect to spend a lot of time sanding and puttying.

Still, in the end all that work makes finishing it that more satisfying.

P38_Cockpit

P38

P38

P38

P38

P38

P38

P38

Yamato 2199 1/1000 – Completed


And it’s done. Not the best kit from Bandai but it’s still a very high quality one and no fault at all on the looks. The only really big flaw is the fit on the tower as you can easily see with the big gap. Had I tested it before painting and final assembly it would have been an easy fix. besides that for anyone thinking on building one, I recommend that you assemble the whole hull as well as the decks, because when you snap those in place you need to apply quite a bit of pressure that can damage the work on the seems.

The colours I used :

Lower hull: eye balled mix of Mr Color Red (several tones), dark yellow and a dash of black.

Upper hull: eye balled mix of Mr Color  Neutral Grey, Intermediate  Blue and a dash of red and black.

Observation decks, windows and whatnot: Vallejo Model Air Chrome with Vallejo Model Color Transparent Green on top.

To finish it up I applied some washes with a couple of AK Interactive products.

Tell me what you think 🙂

20130630_Yamato 2199_0001 20130630_Yamato 2199_0002 20130630_Yamato 2199_0003 20130630_Yamato 2199_0004 20130630_Yamato 2199_0005 20130630_Yamato 2199_0006 20130630_Yamato 2199_0007 20130630_Yamato 2199_0008

Yamato 2199 1/1000 WIP #3 – All Built up

Continuing in my slow pace the ship is all built up and ready for primer and paint. As I’ve said previously I was really not expecting so much work, but this kit has a lot of gaps to fill and a ton of parts with mould lines in inappropriate places that need to be cleaned up. All in all not the best Bandai kit, actually from those I’ve built this is the worst. Still it builds up to a very good looking Yamato on 1000th scale so it’s hardly a bad kit just a bit inferior to what I’m used from Bandai.

Note that the front piece of the tower is not completely in place since I will need to remove it for painting and it would be impossible to do so if it was firmly in place.

Anyway here are a couple of pics. Enjoy and leave a comment 🙂

20130609_Yamato 2199_0001 20130609_Yamato 2199_0002 20130609_Yamato 2199_0003

Yamato 2199 1/1000 WIP #2 – Filling gaps

     Slow and steady she goes. I’ve been working on the hull, cleaning up and filling gaps, and I can tell you that his is allot more work than I was expecting.

20130501_Yamato 2199_0004

There are two main problems here. One is that in order to have the colour separation there are allot more parts than would be needed otherwise. The second is that, to make it a snap fit, the actual fit of the parts gets affected in various ways.

20130501_Yamato 2199_0001

The underside had a considerably large seam that needed filling. Them seam was over 1mm it the furthest. Not terrible to fix.

20130501_Yamato 2199_0002

This one was much worse, specially since that section is loose without any support, which means that a slight mishandle would ruin all the work. It did happen a couple of times.

20130501_Yamato 2199_0003

With that out of the way I started on the hangar, which fits nicely in it’s slot. The problem is that the section of the hull that goes over this, needs to be puttied on the upside to cover a seam, but if that is done it will be impossible to uncover this part of the ship closing off the engine and hangar.

20130501_Yamato 2199_0005

It’s somewhat of a pity but I’ll just display the hangar outside and close the ship to have every seam fixed.

20130501_Yamato 2199_0006

Still quite a lot of work ahead. I thought this would be a quicker build but that just means that I will squeeze more hours out of it 😉

Yamato 2199 1/1000 WIP #1 – A look at the sprues


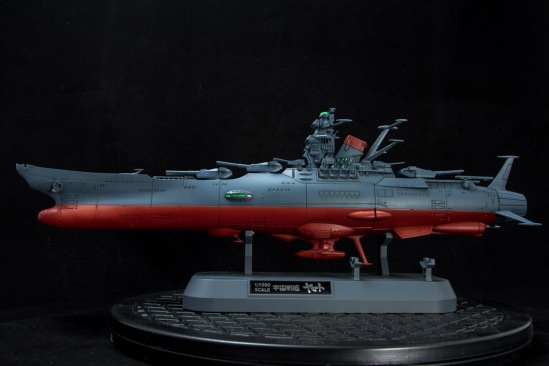
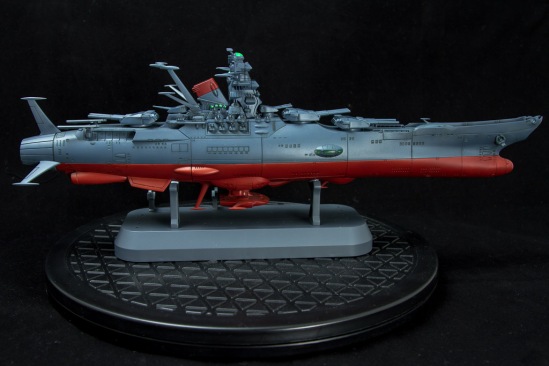
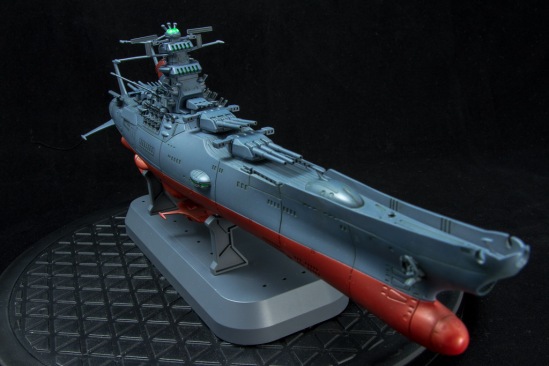
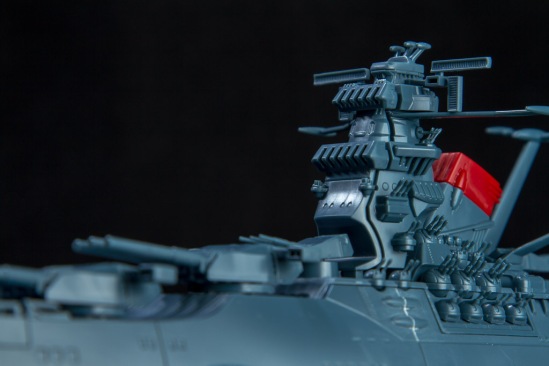
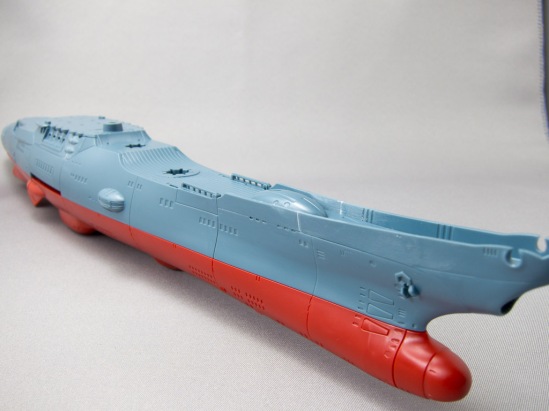
For certain reasons the Shadow Fox will have to be put on hold for a while, but I’m not keeping still. I have a little 1/24 car on the works and now I’m starting this little beauty, Bandai’s 1/1000th Space Battleship Yamato 2199

20130211_Yamato 2199_0001


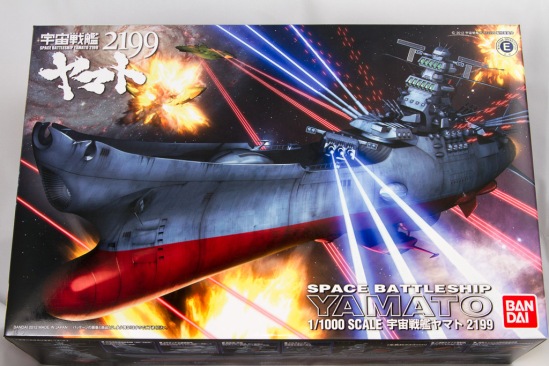
Not a big box but packed. After I took the pieces out to check em I can no longer close it heh.

20130411__0002

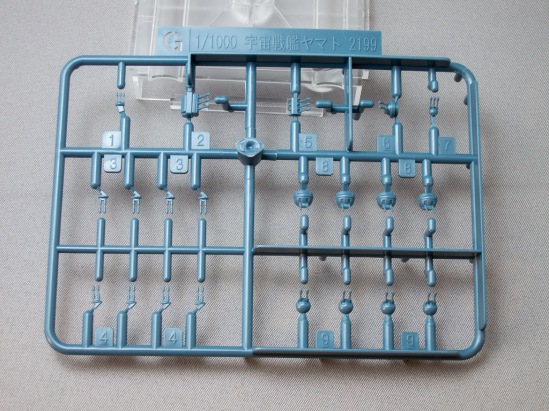
The minuscule anti fighter/flak guns, are quite impressive considering the size. I just hope I don’t break or loose any.

20130411__0003

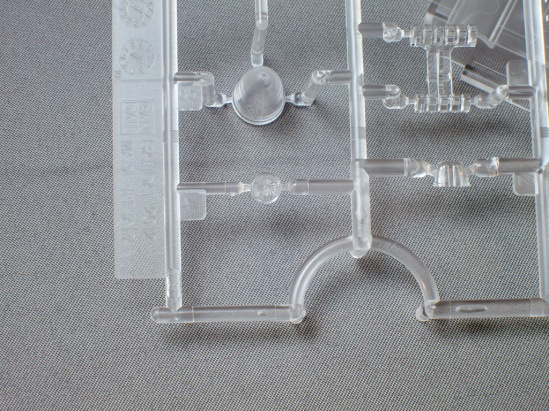
Some Transparent pieces if someone wants to light it up.

20130411__0004

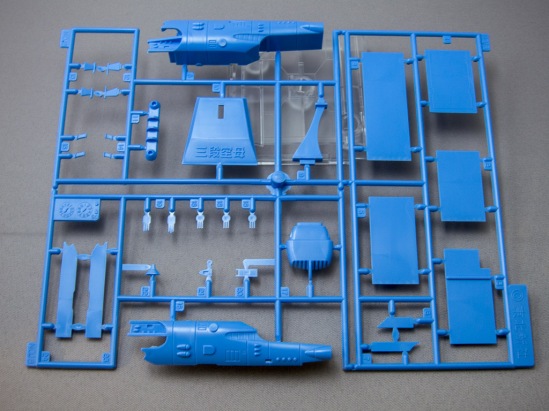
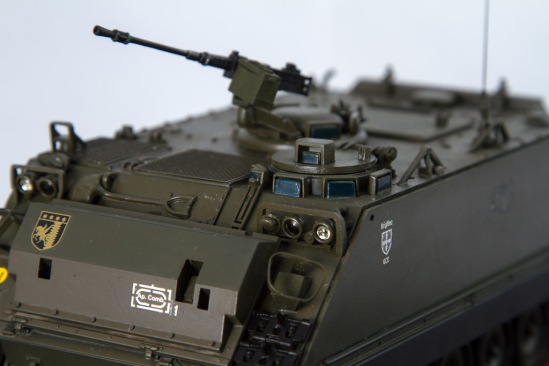
This sprue doesn’t look like the Yamato and indeed it isn’t. It’s a Gamillas carrier that is included as a bonus.

20130411__0005

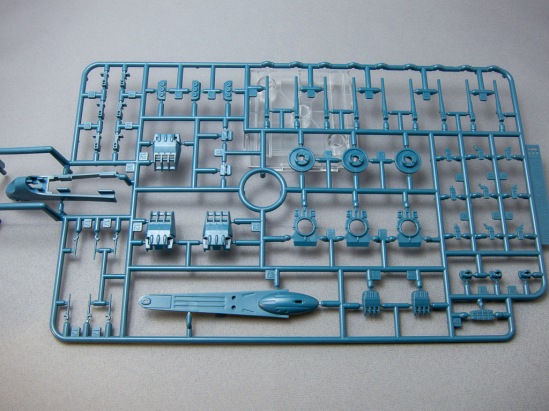
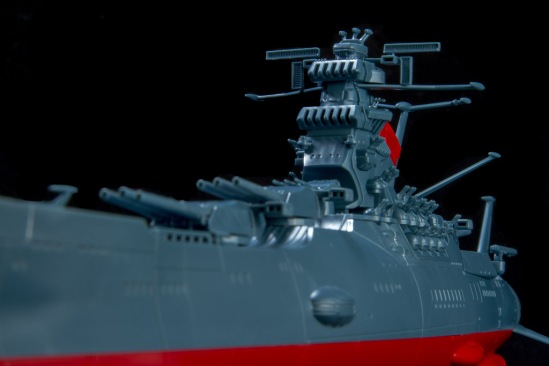
The main weapons. They look really sharp and detailed and the larger gun barrels are hollowed out. Really nice stuff.

20130411__0006

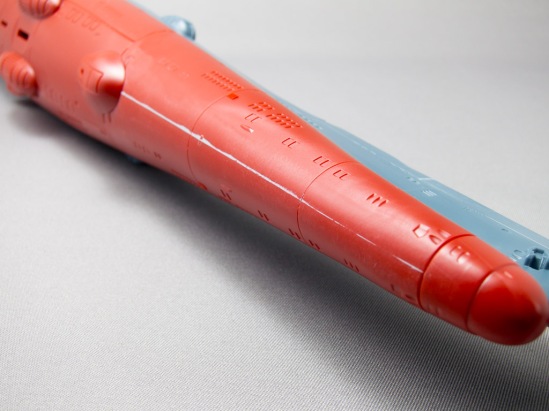
The underside of the ship. Sharp details should give it a really good look after a wash or two.

20130411__0007

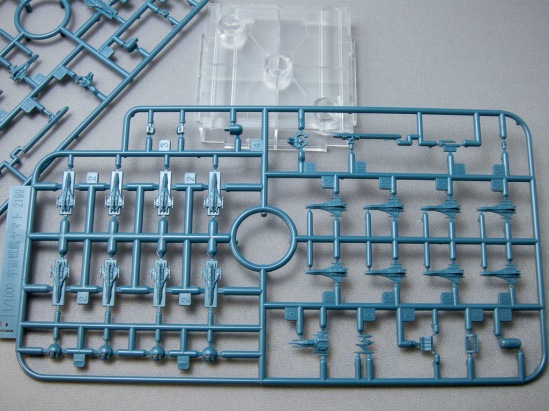
Fighters. Really intimidating. With this size I don’t know how I will paint them … They do look really good.

20130411__0008

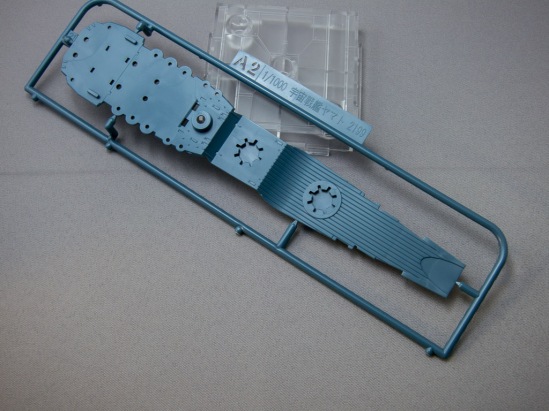
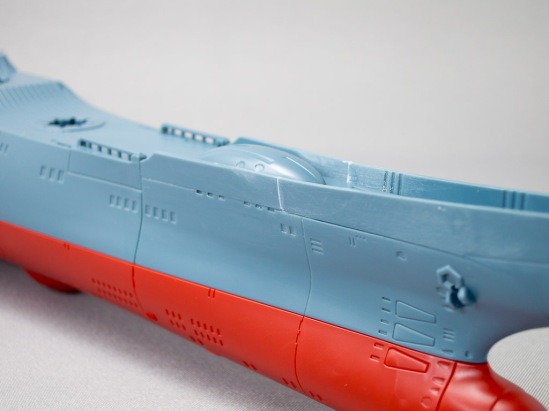
The rear of the deck and the base for the bridge superstructure.

20130411__0009

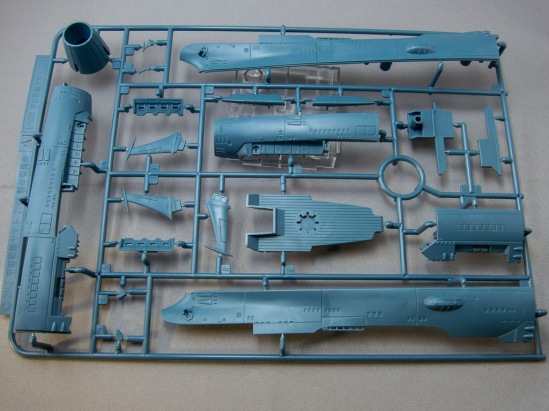
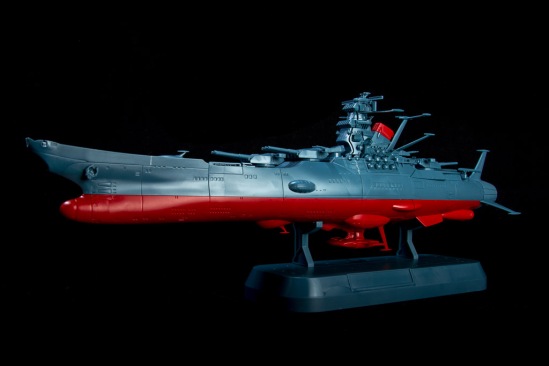
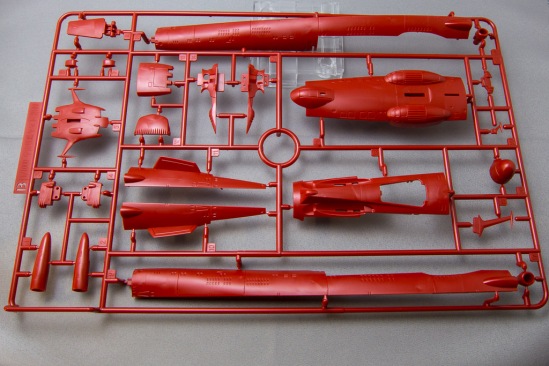
The main sections of the hull, again with some very nice detailing and besides some tide marks (which will disappear after painting) there is no problem with the plastic.

20130411__0010

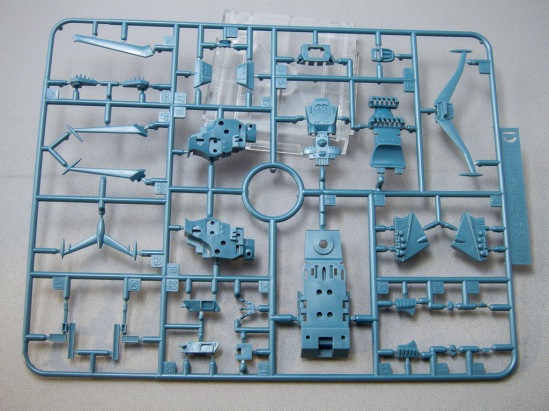
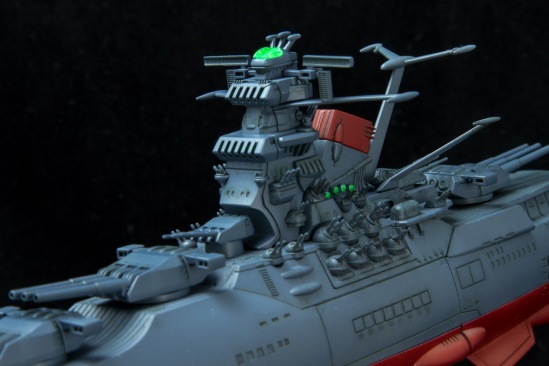
Antennae, the bridge and assorted pieces that go around with the same consistent quality as previous parts.

20130411__0011

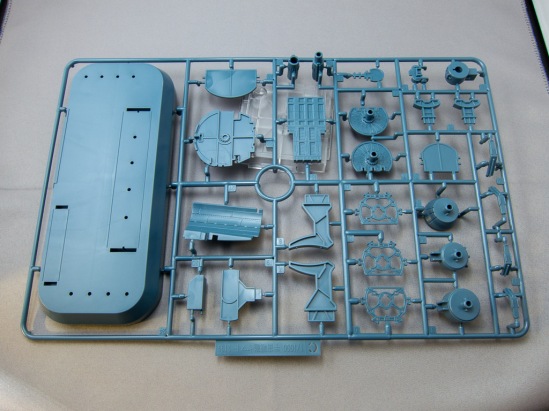
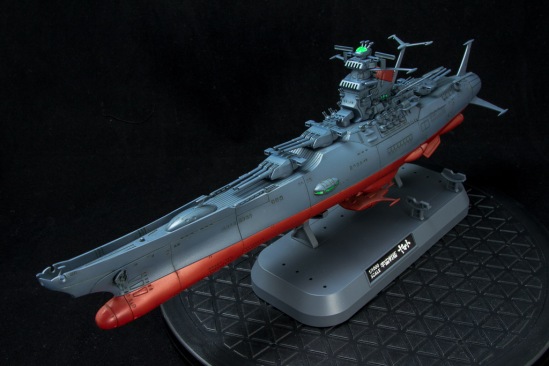
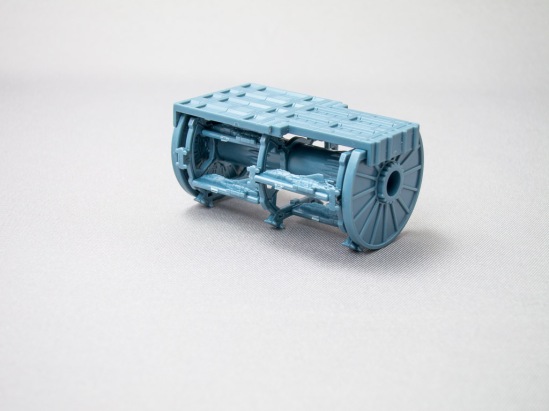
And to finish it off we have the display pieces with the stand, the fighter hangar and engine, both of which can be shown with the removal of a couple of pieces from the hull.

All in all an excellent looking kit. Can’t wait to get started.


Academy 1/35 M113, Portuguese BiMec APC

This guy has been finished for a while but unfortunately free time has been sparse. Regardless here he is all finished up.

Not much has changed from last time, he just got a little dust and a terrain. Some things could have been done better, like the decals and the weathering, but I’m calling this one done and get on with the next. For my first armour kit it was a great experience and it thought me a great deal.

I’ll definitely be building more, but for now enjoy the pics 🙂

20130408_M113_Tuga_0001 20130408_M113_Tuga_0002 20130408_M113_Tuga_0003 20130408_M113_Tuga_0004 20130408_M113_Tuga_0005 20130408_M113_Tuga_0006 20130408_M113_Tuga_0007 20130408_M113_Tuga_0008

Academy 1/35 M113, Portuguese BiMec APC WIP #2

20130211_M113 Tuga_0001

And after a bit more work on this kit representing the BiMec 403 car, I got it to look a bit like the real deal.

20130211_M113 Tuga_0002

After painting the base colour with ZModels Olive green I added the markings. Some of the decals didn’t turn out that good, with some silvering here and there. I am not completely pissed with it because the real car actually shows some as well, it seems some of the markings are stickers. Still I’ll have to cut some more of the transparent film next time.

20130211_M113 Tuga_0003

For the optics I painted the infra-red ones with Tamiya gloss black and used AK 2.3 mm optics for the others. It’s a simple addition but it really gives a nice look.

20130211_M113 Tuga_0004

With the markings in place time for some Tamiya flat clear to cut some of the shine. After drying I gave it a good wash of burnt umber. It’s somewhat discreet but you can see some dirt where the wash accumulated. I kinda like the effect.

20130211_M113 Tuga_0005

Time now to paint some more bits and bobs like the stop light and the tracks in the front as well as the periscopes. At my eyes at the time they looked fine but seeing the pictures I noticed that I definitely should have made a better work out of them.

20130211_M113 Tuga_0006

Previously I had also added some photo-etch to the engine grills on top. Again it is a simple addition that gives an instant boost to the looks of the model.

20130211_M113 Tuga_0007

With most of the painting done it was now a matter of adding a couple more touches by drilling the machine gun nozzle and making an antennae with stretched sprue.

20130211_M113 Tuga_0008


It’s almost done. I plan on adding just a touch more wear with some more oils and pigments as well as making a small terrain.

Thank you for watching.