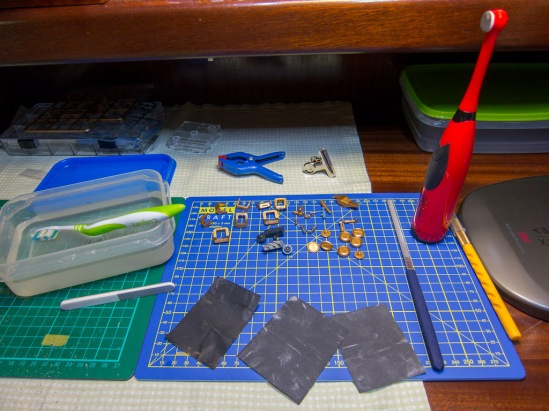
This guy has been far too long in progress so lets give an update on its adventures.

Getting Blue
This guy is a looker, even though the meanwhile released master grade version, is a considerable improvement this version is not a total slouch, being that its main problems in the looks department are, in my opinion its proportions.
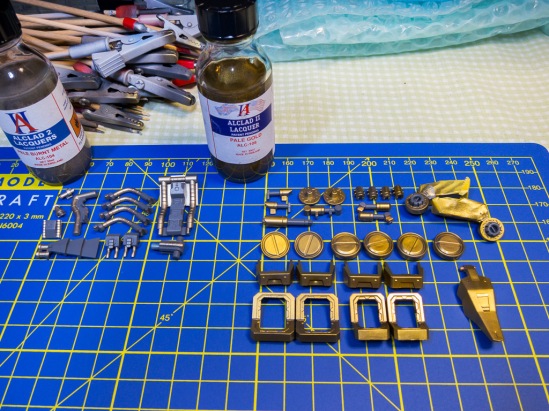
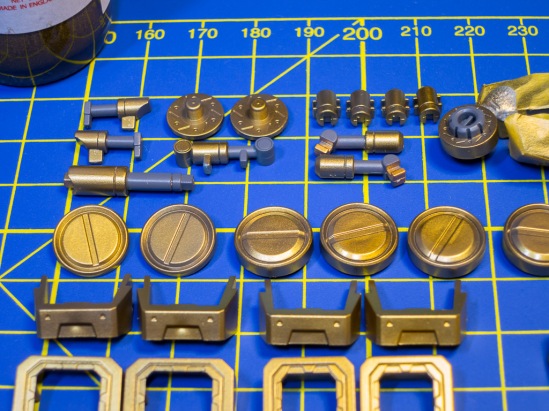
As you can see in the Snap Review I did previously this kit doesn’t lack detail, but it does have some parts (allot) moulded in the wrong colour and that, needs to be corrected.
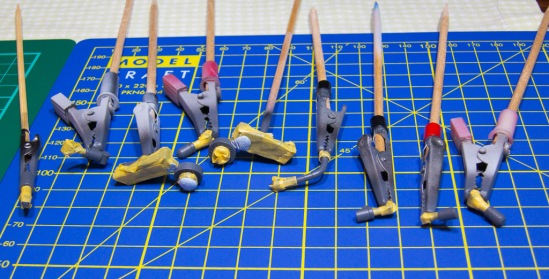
There was a considerable amount of tough masking to get this guy right, just check how it looks in a first phase of painting his fingers.

Masking this was a challenge.
And since absurd amounts of masking weren’t enough I had to make it even more interesting by losing the piece for the eye and had to scratch build a replacement.
Well, I wouldn’t call it quite a scratch built part, but I cut the eyes sticker to serve as a template put them on some pla plate and trimmed to size. Then it as a matter of sticking the pieces in place and filling the space with a bit of putty.

I can see again !!
I also tried paint the sensors by hand with some silver and clear green but that didn’t go as well as I expected. I have to get an alternative method to get better results. If anyone has advice please, I would appreciate it very much.

Now with a stylish hat
With the body assembled painted and detailed, now all that is left is to wait for the first opportunity to top coat it. I’m planning on top coating with semi gloss clear, so its final paint job look won’t be much different from what you can see in these pictures, but stay tuned and tell me what you think.